
MCP OAuth
LiteLLM supports two OAuth 2.0 flows for MCP servers:
Overview
MCP OAuth
LiteLLM supports two OAuth 2.0 flows for MCP servers:
| Flow | Use Case | How It Works |
|---|---|---|
| Interactive (PKCE) | User-facing apps (Claude Code, Cursor) | Browser-based consent, per-user tokens |
| Machine-to-Machine (M2M) | Backend services, CI/CD, automated agents | client_credentials grant, proxy-managed tokens |
Interactive OAuth (PKCE)
For user-facing MCP clients (Claude Code, Cursor), LiteLLM supports the full OAuth 2.0 authorization code flow with PKCE.
Setup
mcp_servers:
  github_mcp:
    url: "https://api.githubcopilot.com/mcp"
    auth_type: oauth2
    client_id: os.environ/GITHUB_OAUTH_CLIENT_ID
    client_secret: os.environ/GITHUB_OAUTH_CLIENT_SECRET
How It Works
sequenceDiagram
    participant Browser as User-Agent (Browser)
    participant Client as Client
    participant LiteLLM as LiteLLM Proxy
    participant MCP as MCP Server (Resource Server)
    participant Auth as Authorization Server

    Note over Client,LiteLLM: Step 1 – Resource discovery
    Client->>LiteLLM: GET /.well-known/oauth-protected-resource/{mcp_server_name}/mcp
    LiteLLM->>Client: Return resource metadata

    Note over Client,LiteLLM: Step 2 – Authorization server discovery
    Client->>LiteLLM: GET /.well-known/oauth-authorization-server/{mcp_server_name}
    LiteLLM->>Client: Return authorization server metadata

    Note over Client,Auth: Step 3 – Dynamic client registration
    Client->>LiteLLM: POST /{mcp_server_name}/register
    LiteLLM->>Auth: Forward registration request
    Auth->>LiteLLM: Issue client credentials
    LiteLLM->>Client: Return client credentials

    Note over Client,Browser: Step 4 – User authorization (PKCE)
    Client->>Browser: Open authorization URL + code_challenge + resource
    Browser->>Auth: Authorization request
    Note over Auth: User authorizes
    Auth->>Browser: Redirect with authorization code
    Browser->>LiteLLM: Callback to LiteLLM with code
    LiteLLM->>Browser: Redirect back with authorization code
    Browser->>Client: Callback with authorization code

    Note over Client,Auth: Step 5 – Token exchange
    Client->>LiteLLM: Token request + code_verifier + resource
    LiteLLM->>Auth: Forward token request
    Auth->>LiteLLM: Access (and refresh) token
    LiteLLM->>Client: Return tokens

    Note over Client,MCP: Step 6 – Authenticated MCP call
    Client->>LiteLLM: MCP request with access token + LiteLLM API key
    LiteLLM->>MCP: MCP request with Bearer token
    MCP-->>LiteLLM: MCP response
    LiteLLM-->>Client: Return MCP response
Participants
- Client -- The MCP-capable AI agent (e.g., Claude Code, Cursor, or another IDE/agent) that initiates OAuth discovery, authorization, and tool invocations on behalf of the user.
- LiteLLM Proxy -- Mediates all OAuth discovery, registration, token exchange, and MCP traffic while protecting stored credentials.
- Authorization Server -- Issues OAuth 2.0 tokens via dynamic client registration, PKCE authorization, and token endpoints.
- MCP Server (Resource Server) -- The protected MCP endpoint that receives LiteLLM's authenticated JSON-RPC requests.
- User-Agent (Browser) -- Temporarily involved so the end user can grant consent during the authorization step.
Flow Steps
- Resource Discovery: The client fetches MCP resource metadata from LiteLLM's
.well-known/oauth-protected-resourceendpoint to understand scopes and capabilities. - Authorization Server Discovery: The client retrieves the OAuth server metadata (token endpoint, authorization endpoint, supported PKCE methods) through LiteLLM's
.well-known/oauth-authorization-serverendpoint. - Dynamic Client Registration: The client registers through LiteLLM, which forwards the request to the authorization server (RFC 7591). If the provider doesn't support dynamic registration, you can pre-store
client_id/client_secretin LiteLLM (e.g., GitHub MCP) and the flow proceeds the same way. - User Authorization: The client launches a browser session (with code challenge and resource hints). The user approves access, the authorization server sends the code through LiteLLM back to the client.
- Token Exchange: The client calls LiteLLM with the authorization code, code verifier, and resource. LiteLLM exchanges them with the authorization server and returns the issued access/refresh tokens.
- MCP Invocation: With a valid token, the client sends the MCP JSON-RPC request (plus LiteLLM API key) to LiteLLM, which forwards it to the MCP server and relays the tool response.
See the official MCP Authorization Flow for additional reference.
Machine-to-Machine (M2M) Auth
LiteLLM automatically fetches, caches, and refreshes OAuth2 tokens using the client_credentials grant. No manual token management required.
Setup
You can configure M2M OAuth via the LiteLLM UI or config.yaml.
UI Setup
Navigate to the MCP Servers page and click + Add New MCP Server.
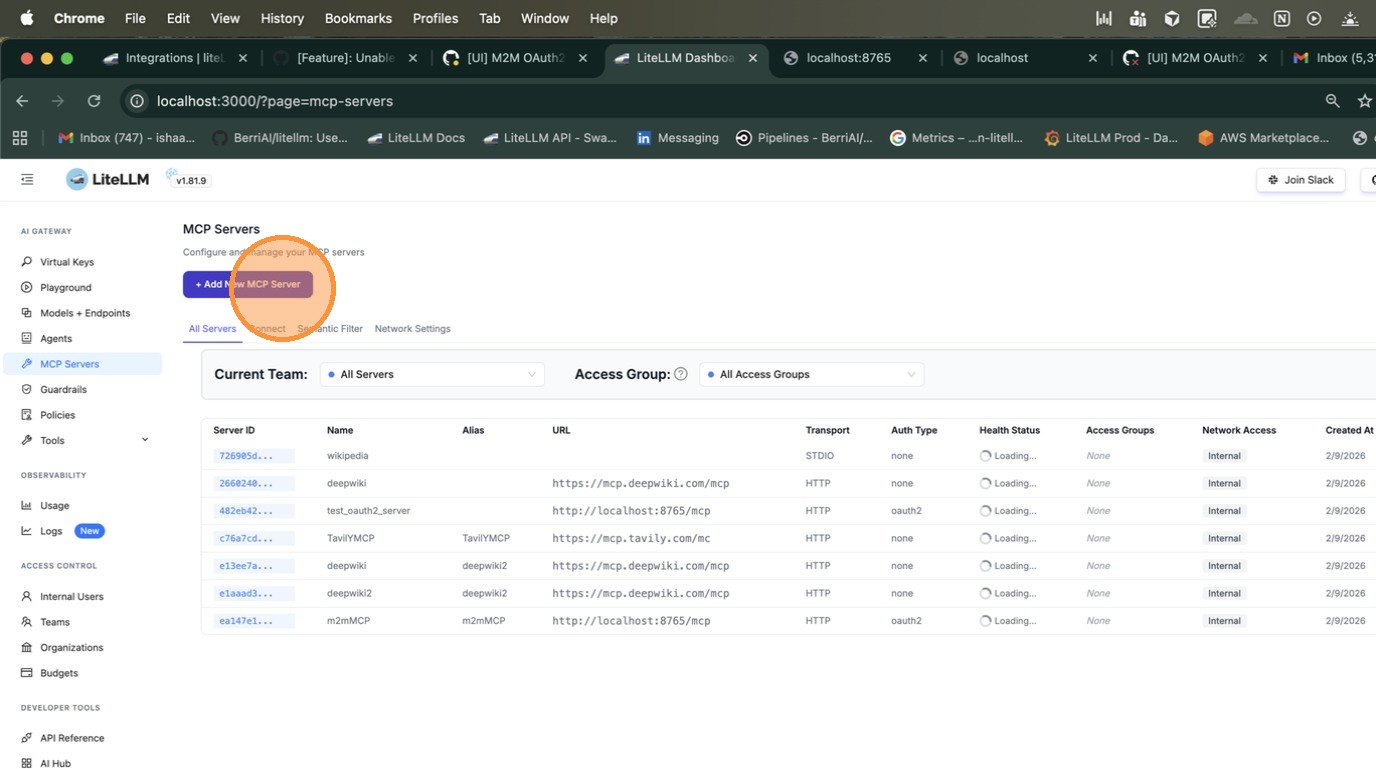
Enter a name for your server and select HTTP as the transport type.
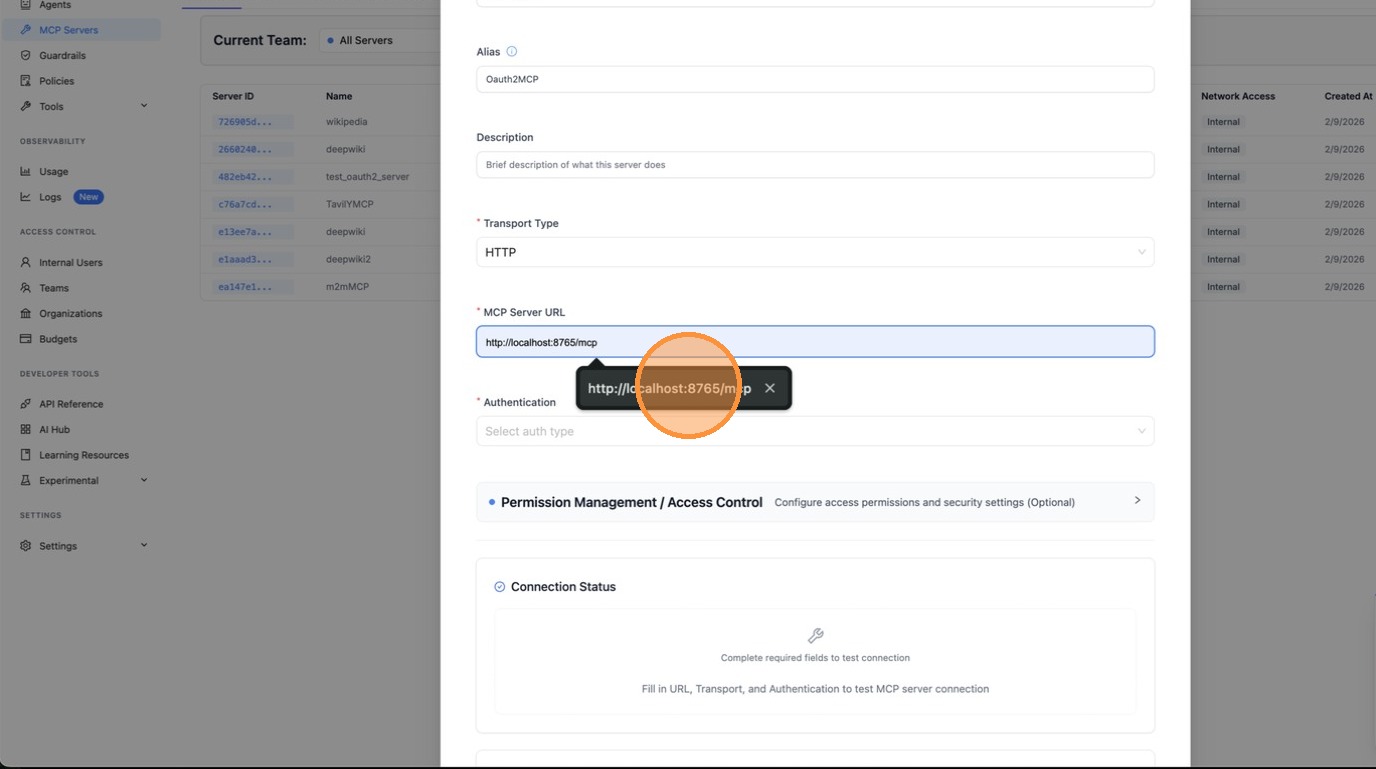
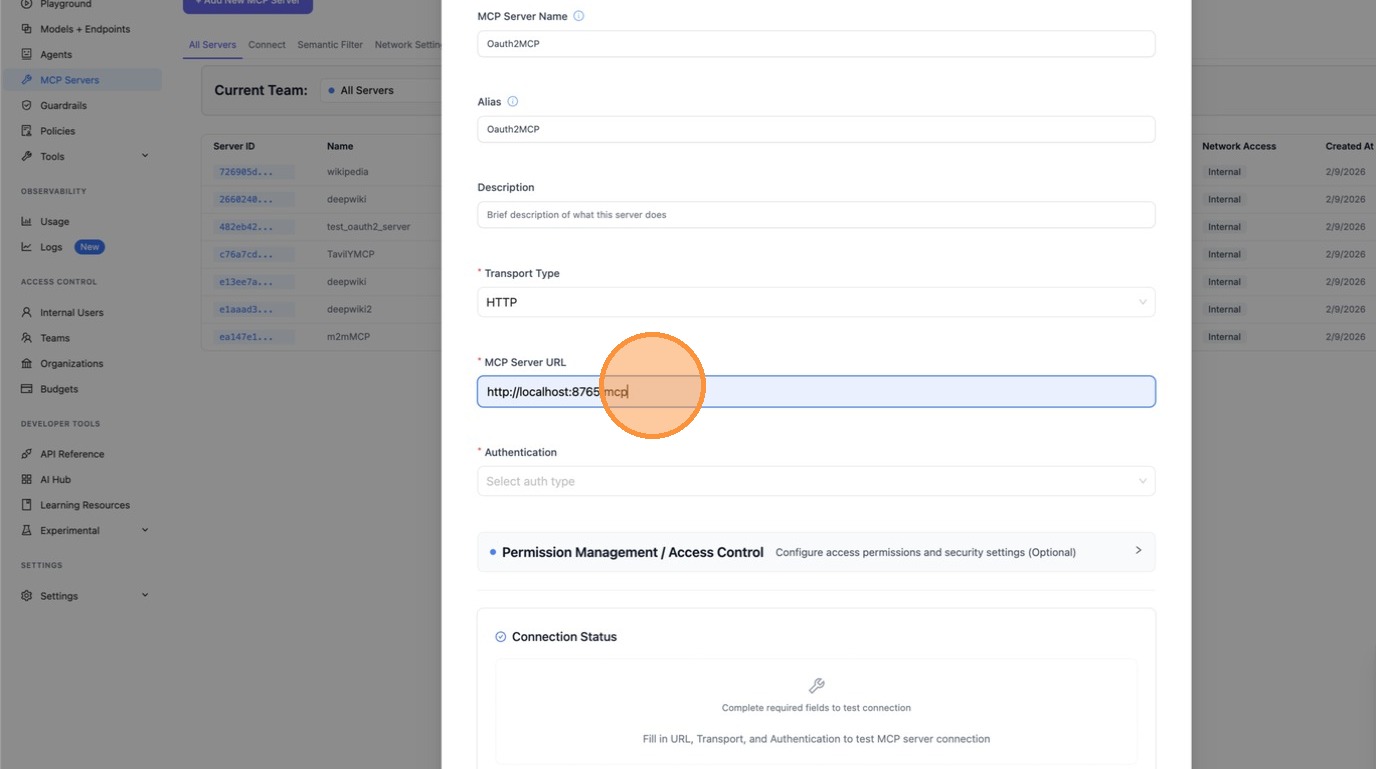
Paste the MCP server URL.
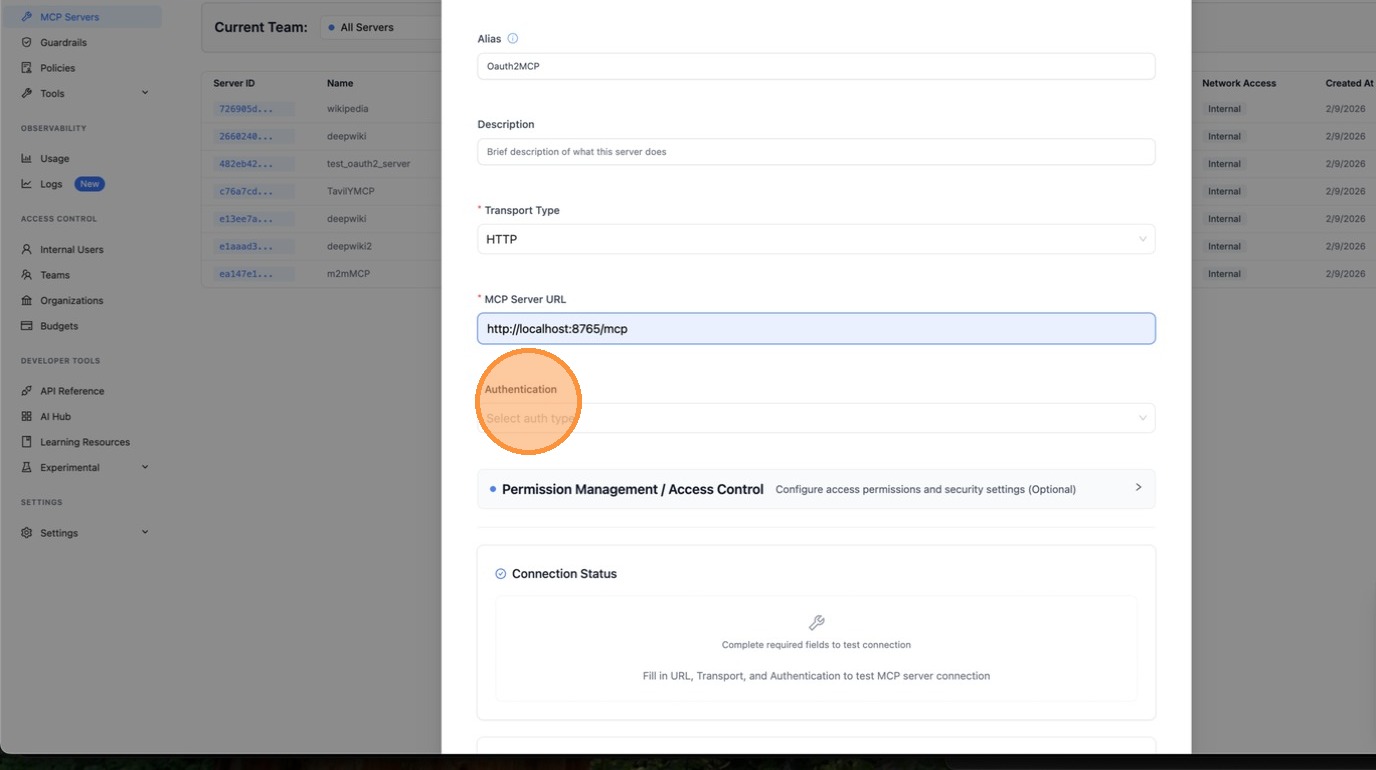
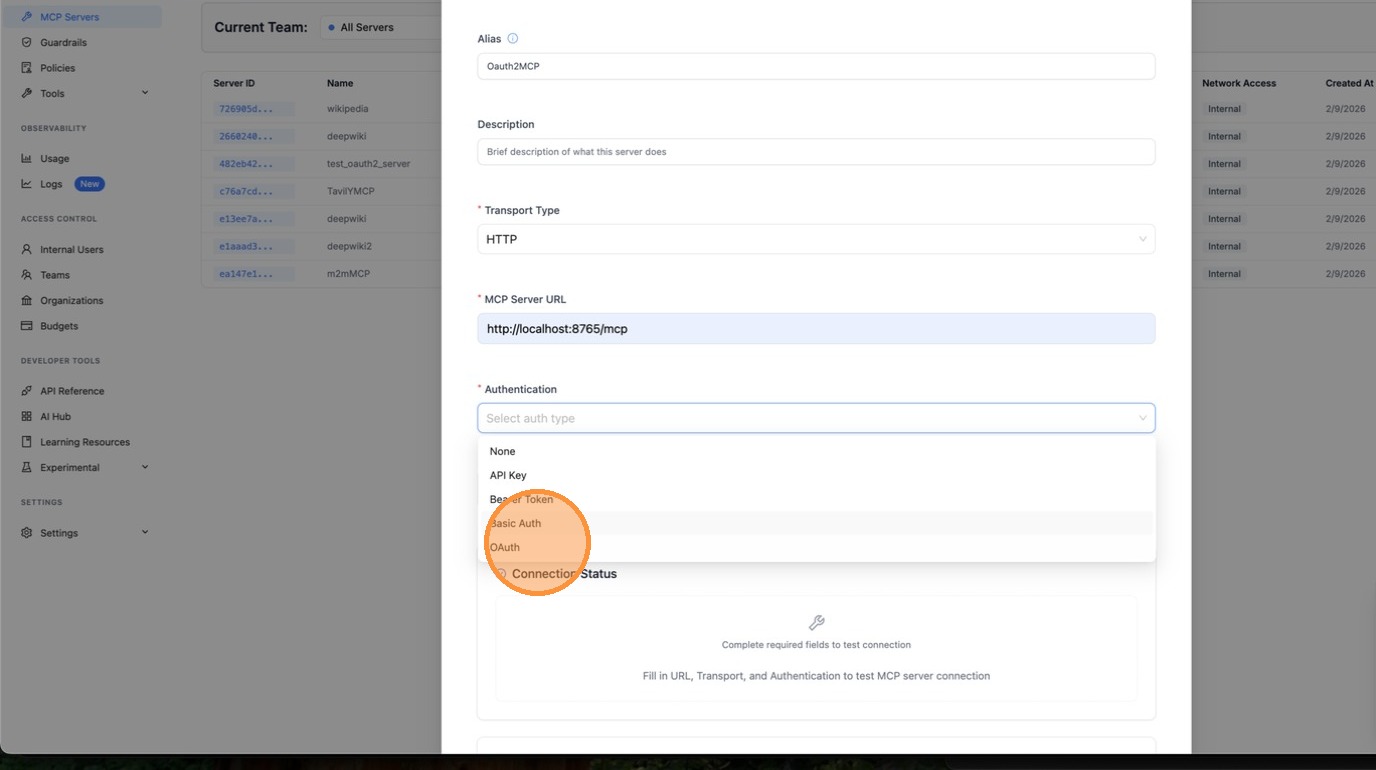
Under Authentication, select OAuth.
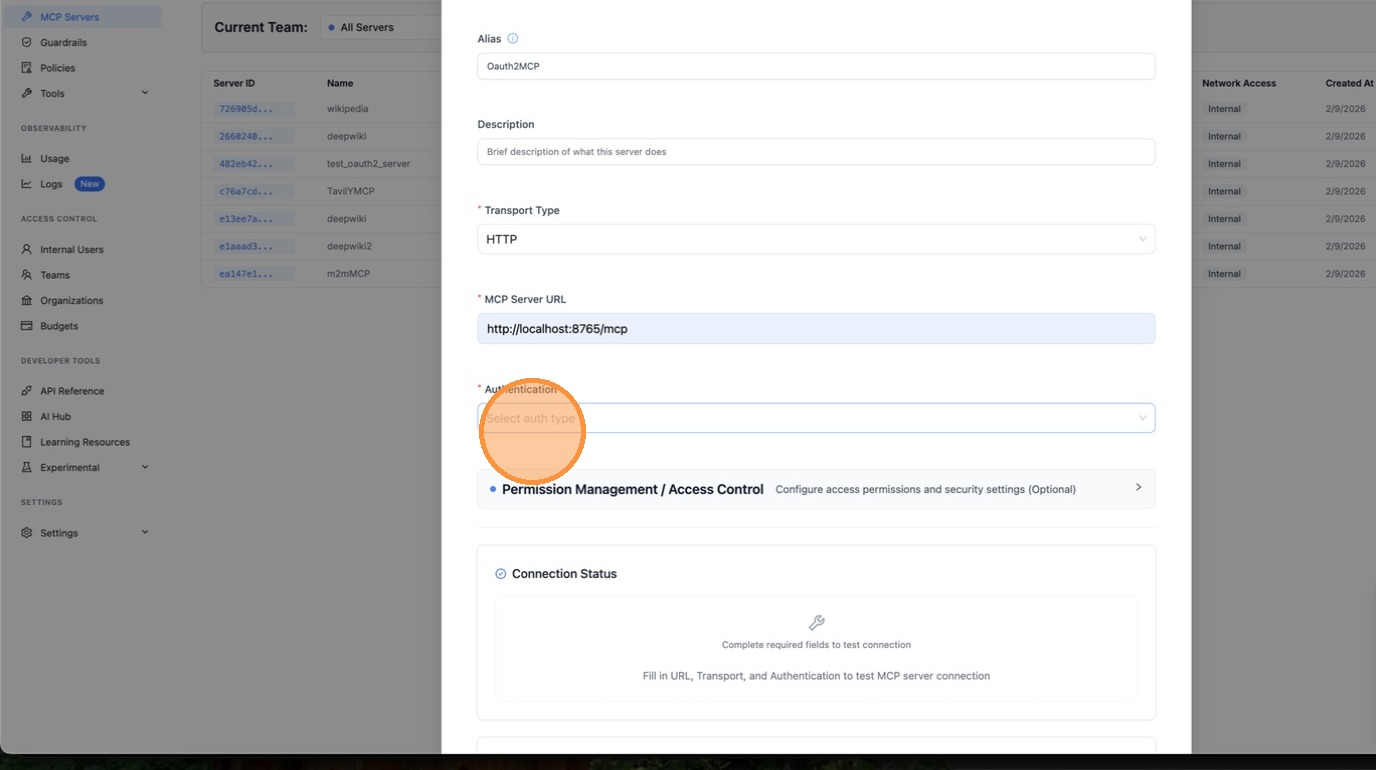
Choose Machine-to-Machine (M2M) as the OAuth flow type. This is for server-to-server authentication using the client_credentials grant — no browser interaction required.
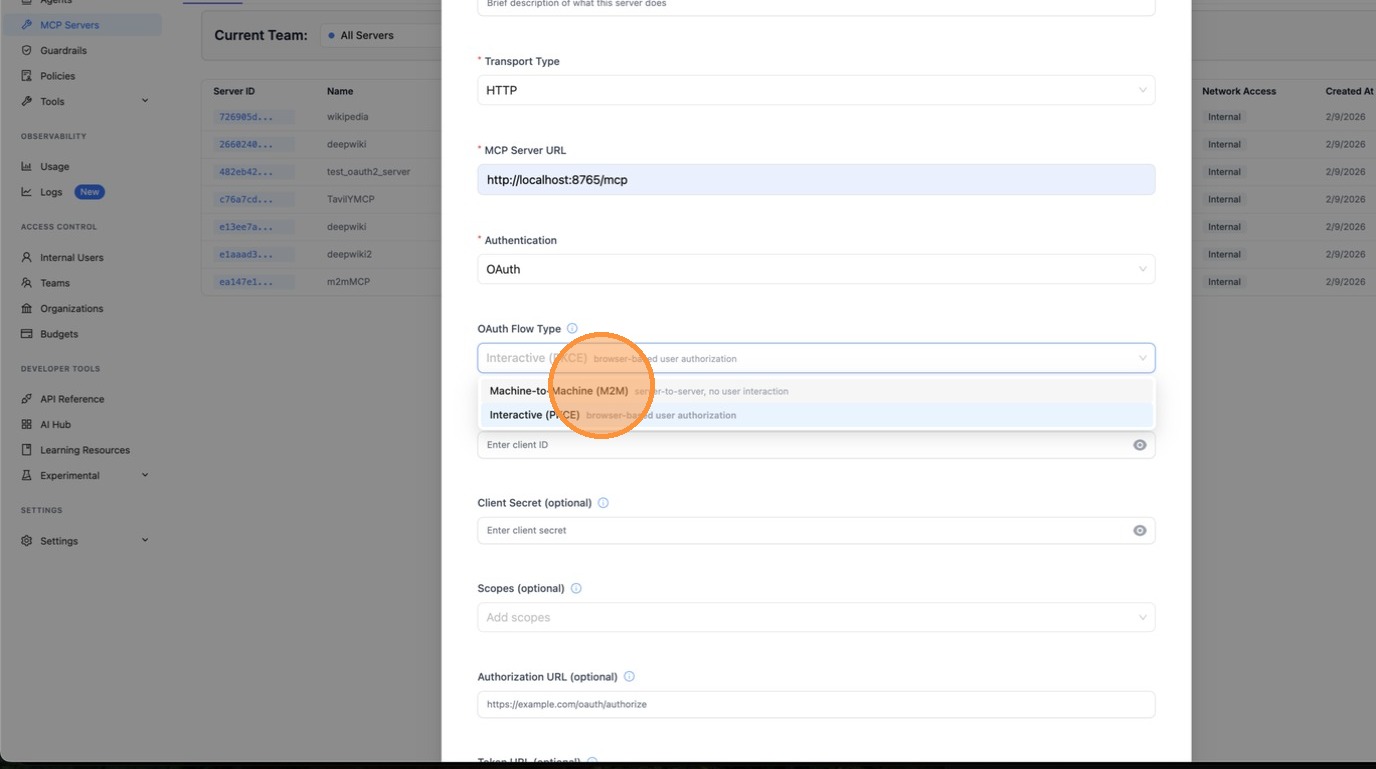
Fill in the Client ID and Client Secret provided by your OAuth provider.
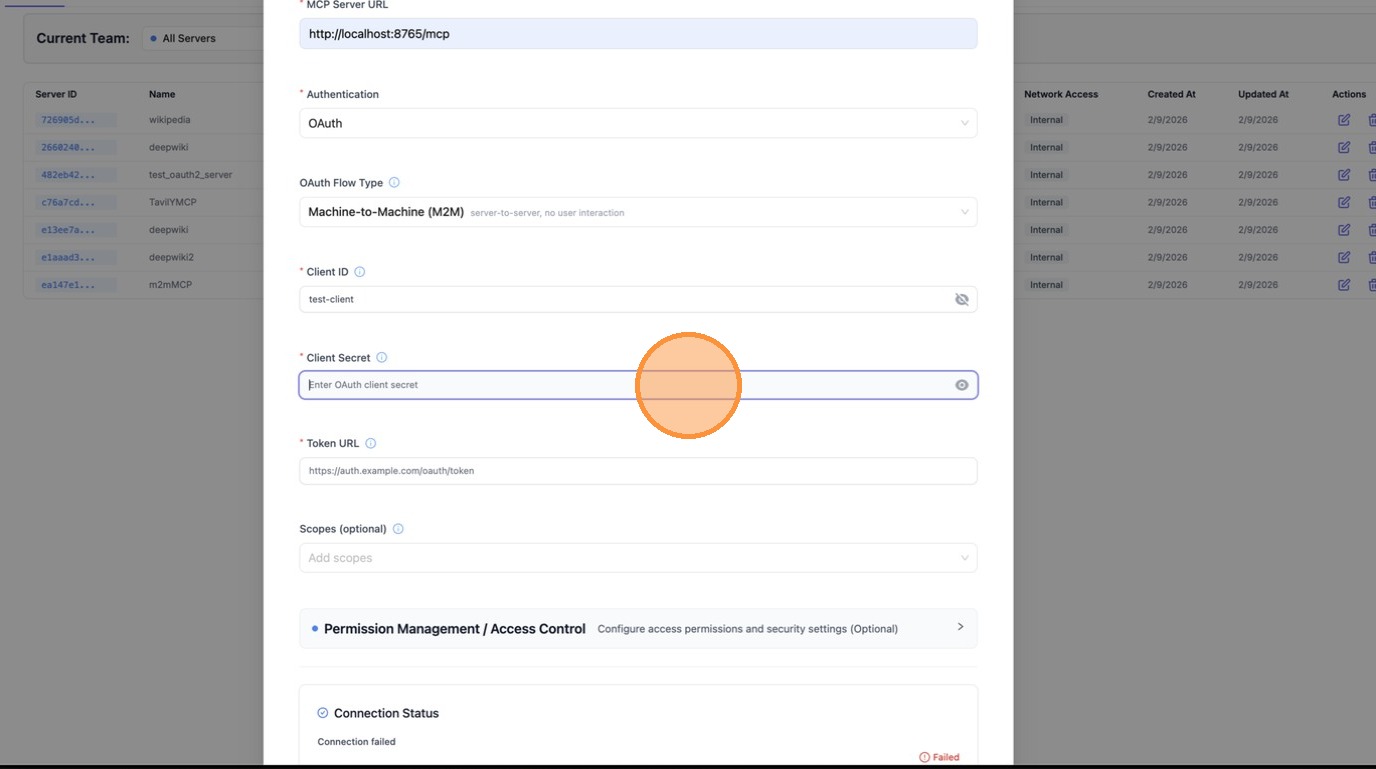
Enter the Token URL — this is the endpoint LiteLLM will call to fetch access tokens using client_credentials.
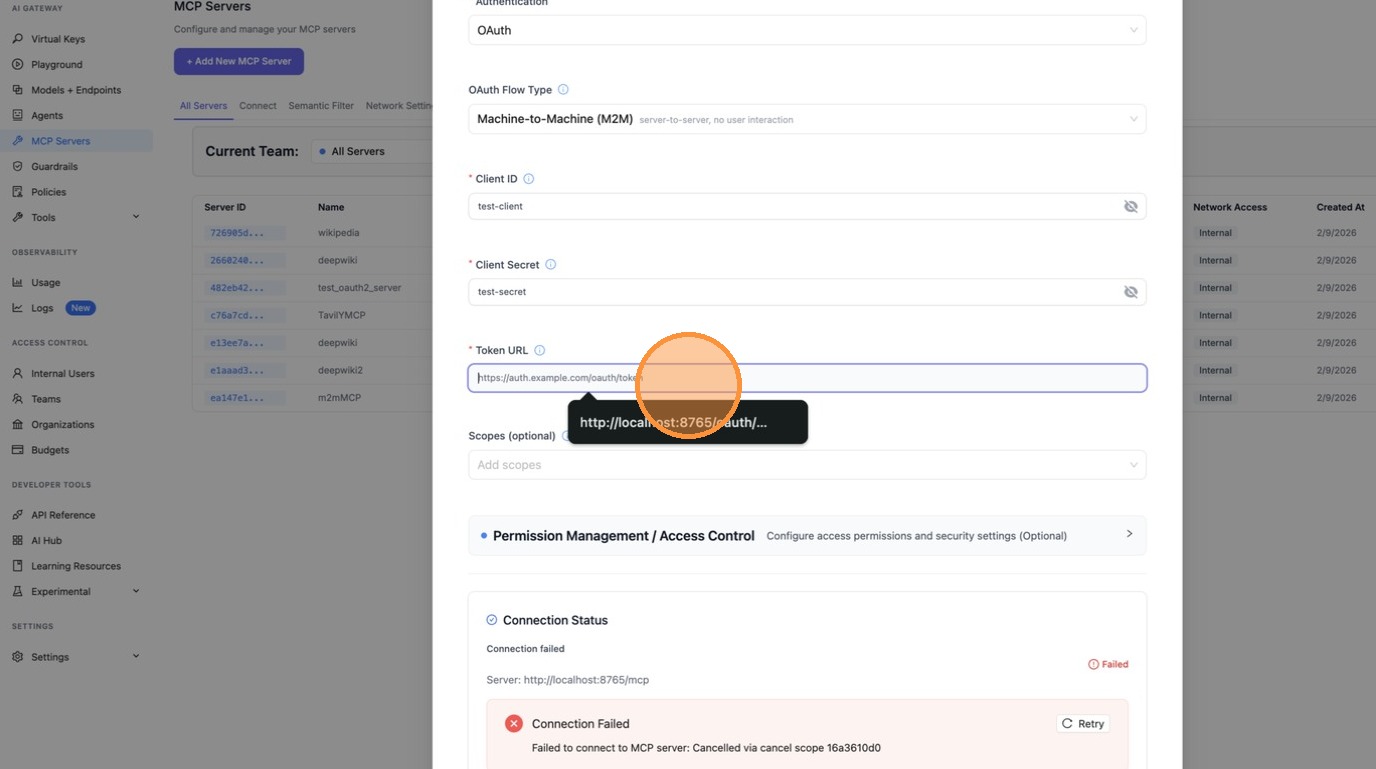
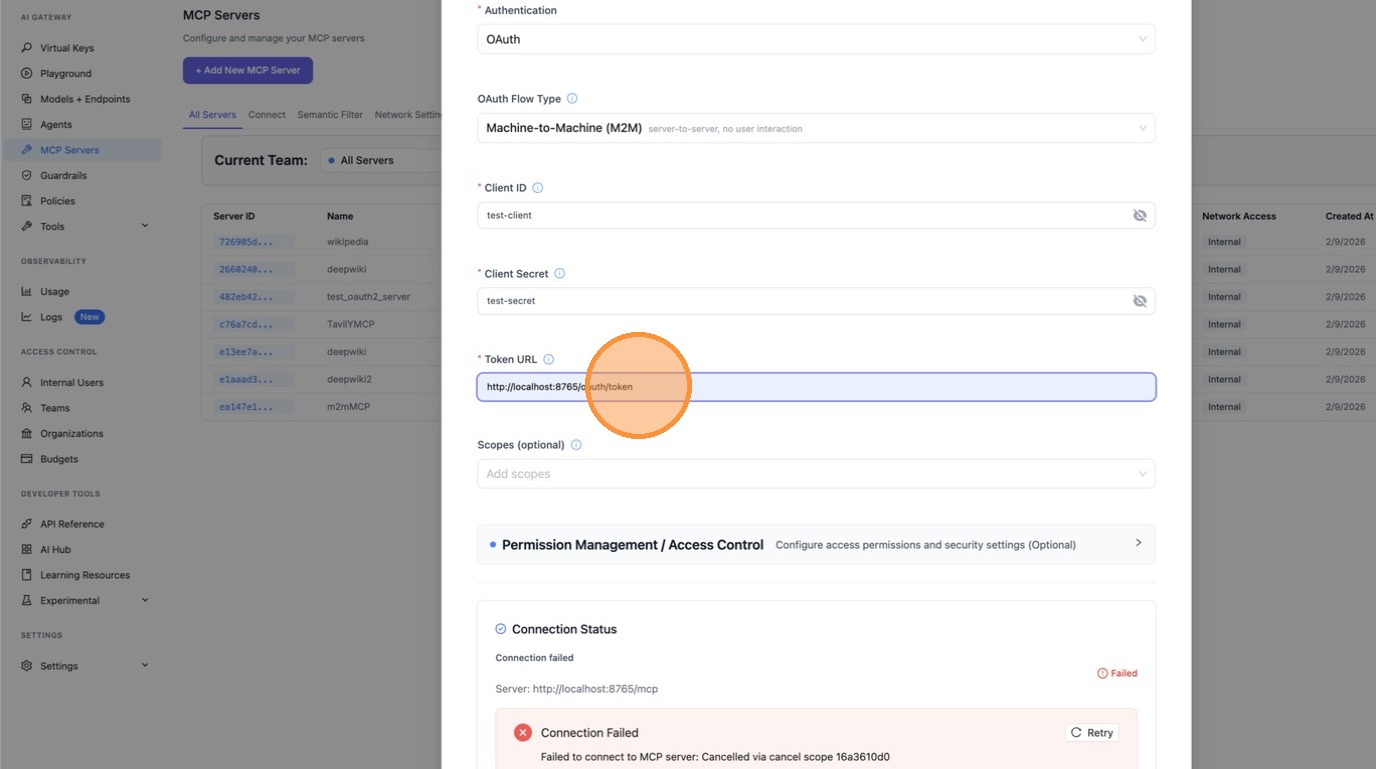
Scroll down and review the server URL and all fields, then click Create MCP Server.
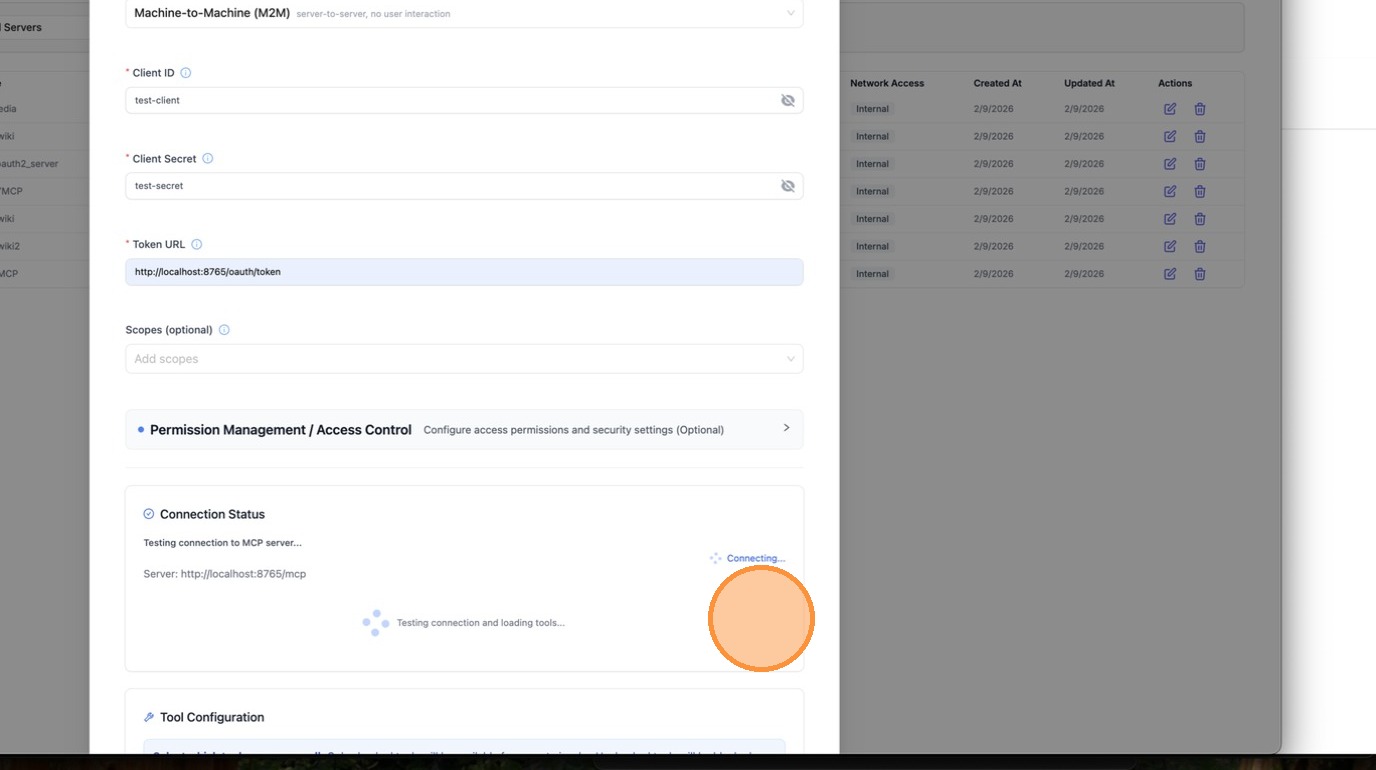
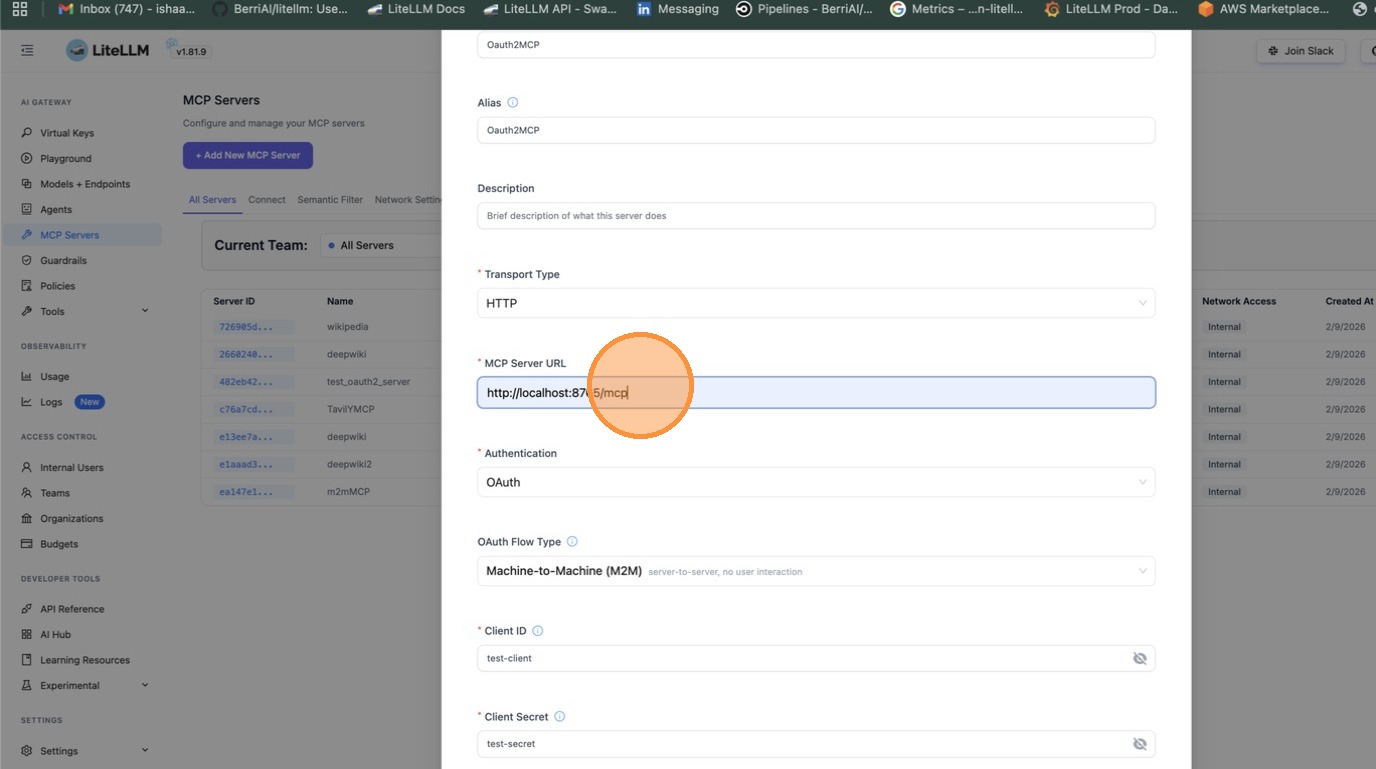
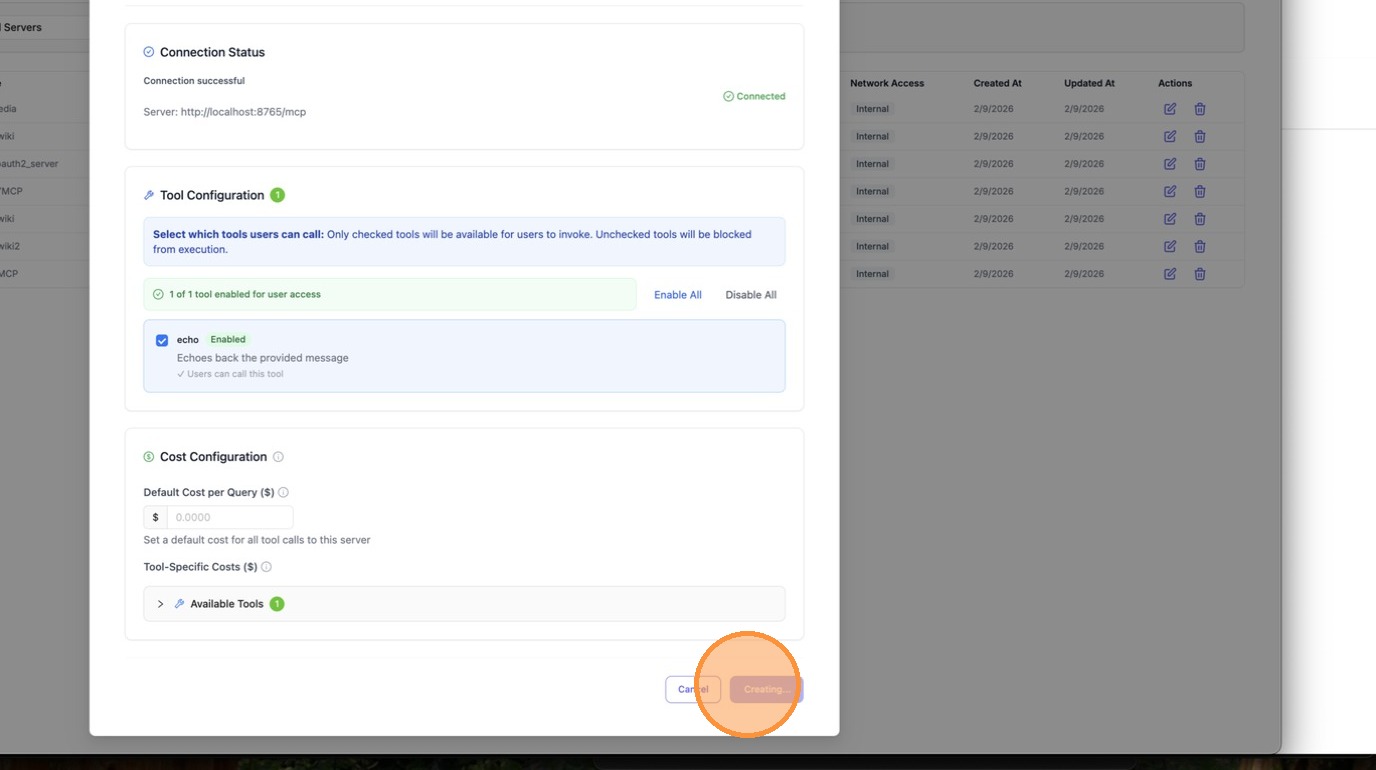
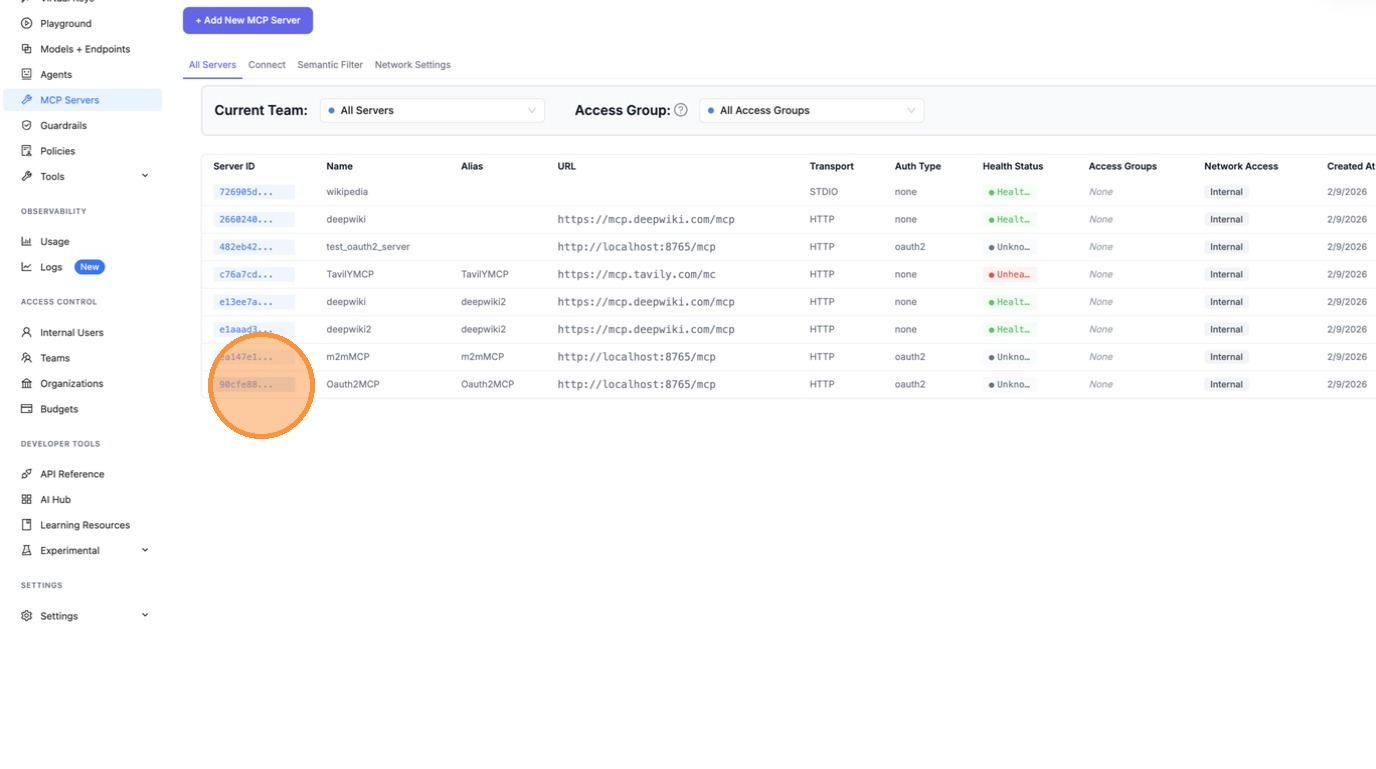
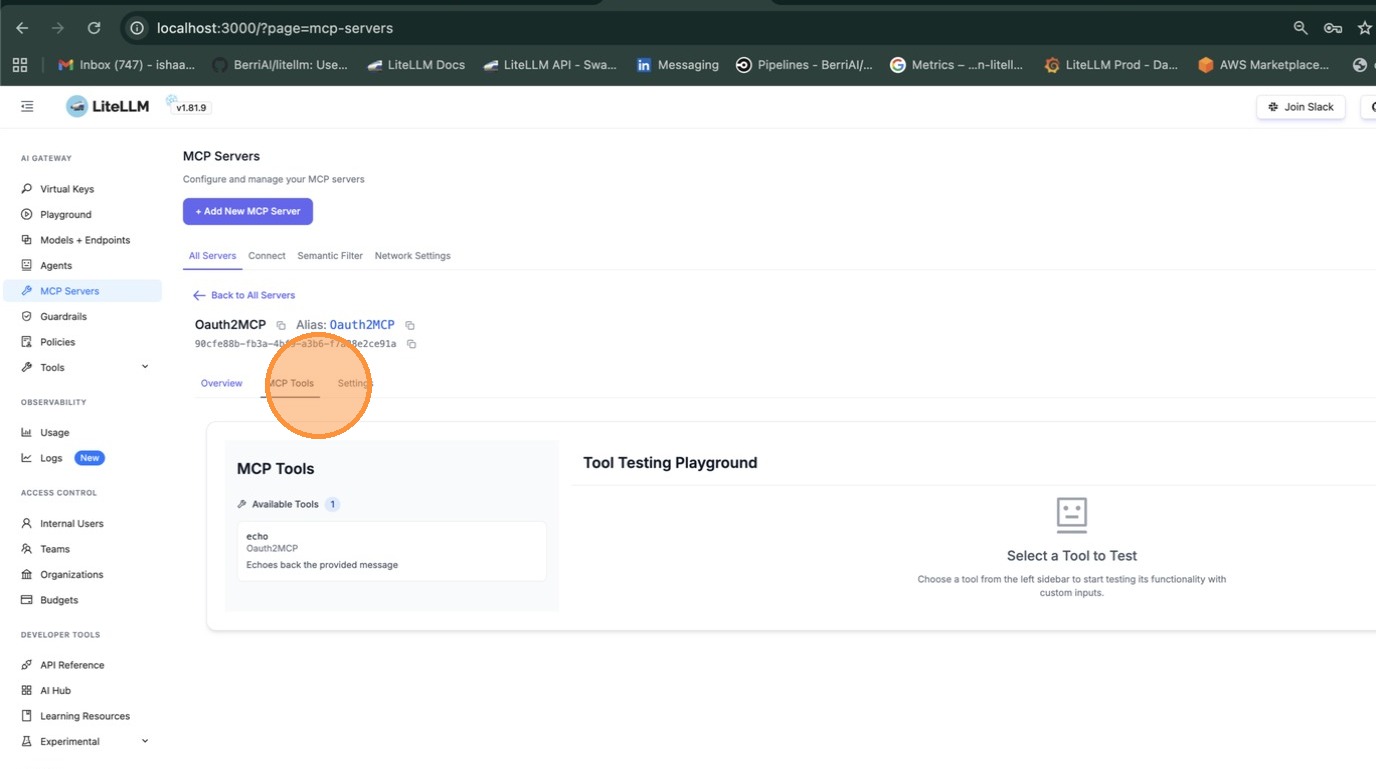
Once created, open the server and navigate to the MCP Tools tab to verify that LiteLLM can connect and list available tools.
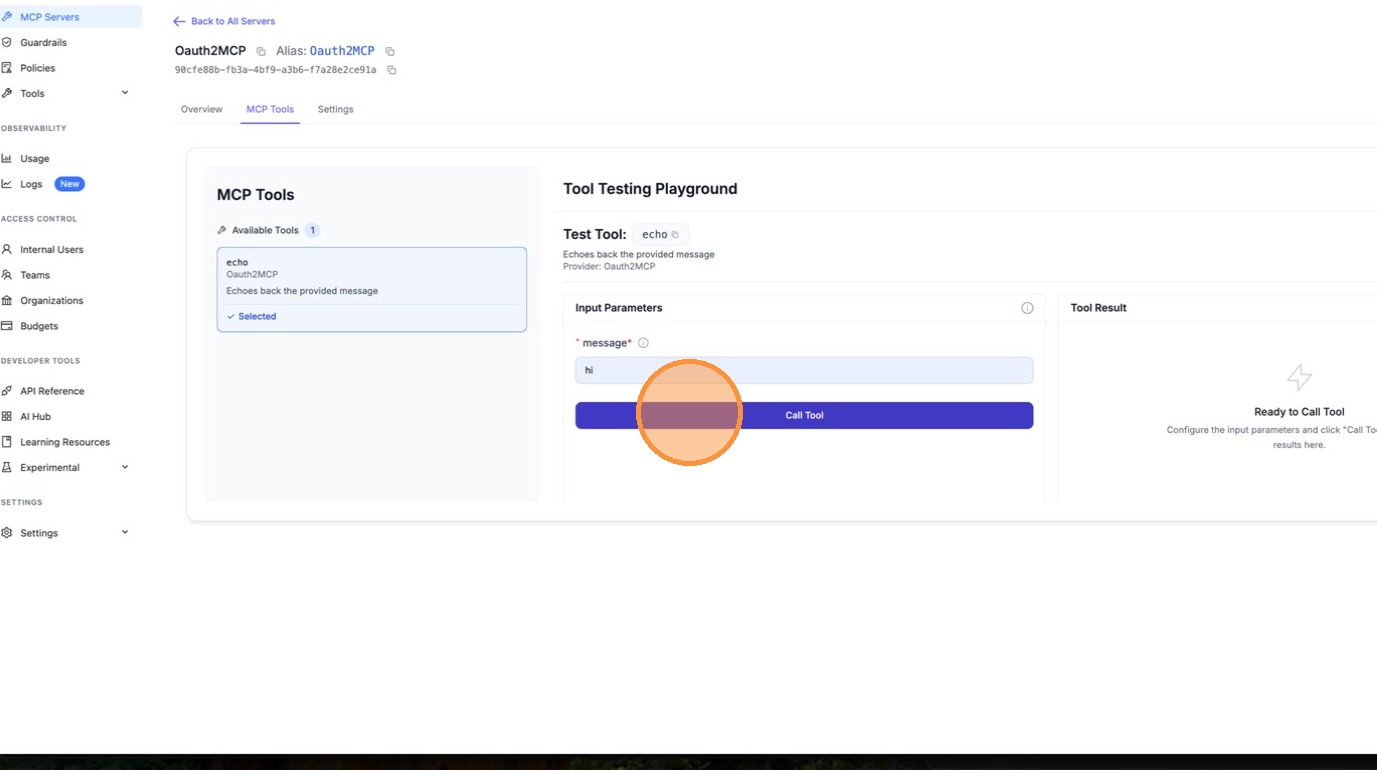
Select a tool (e.g. echo) to test it. Fill in the required parameters and click Call Tool.
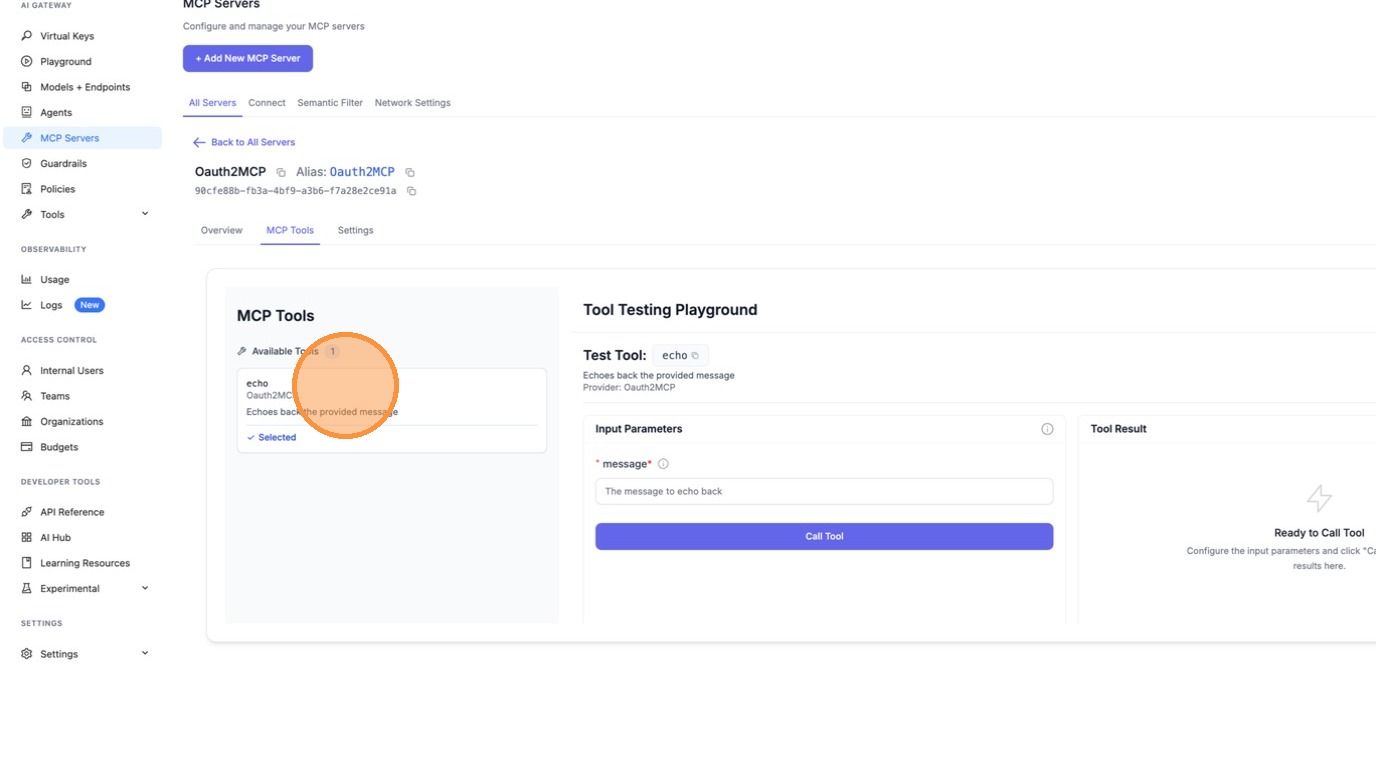
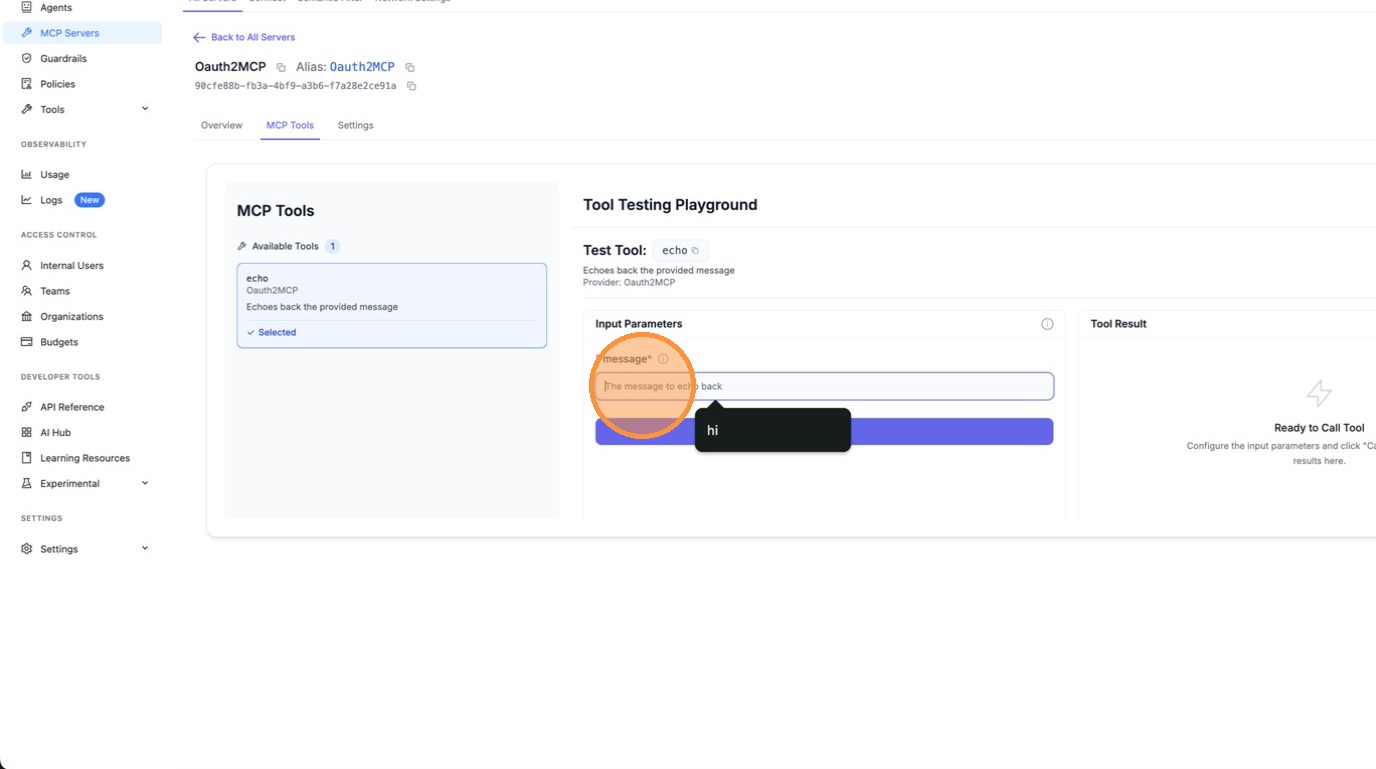
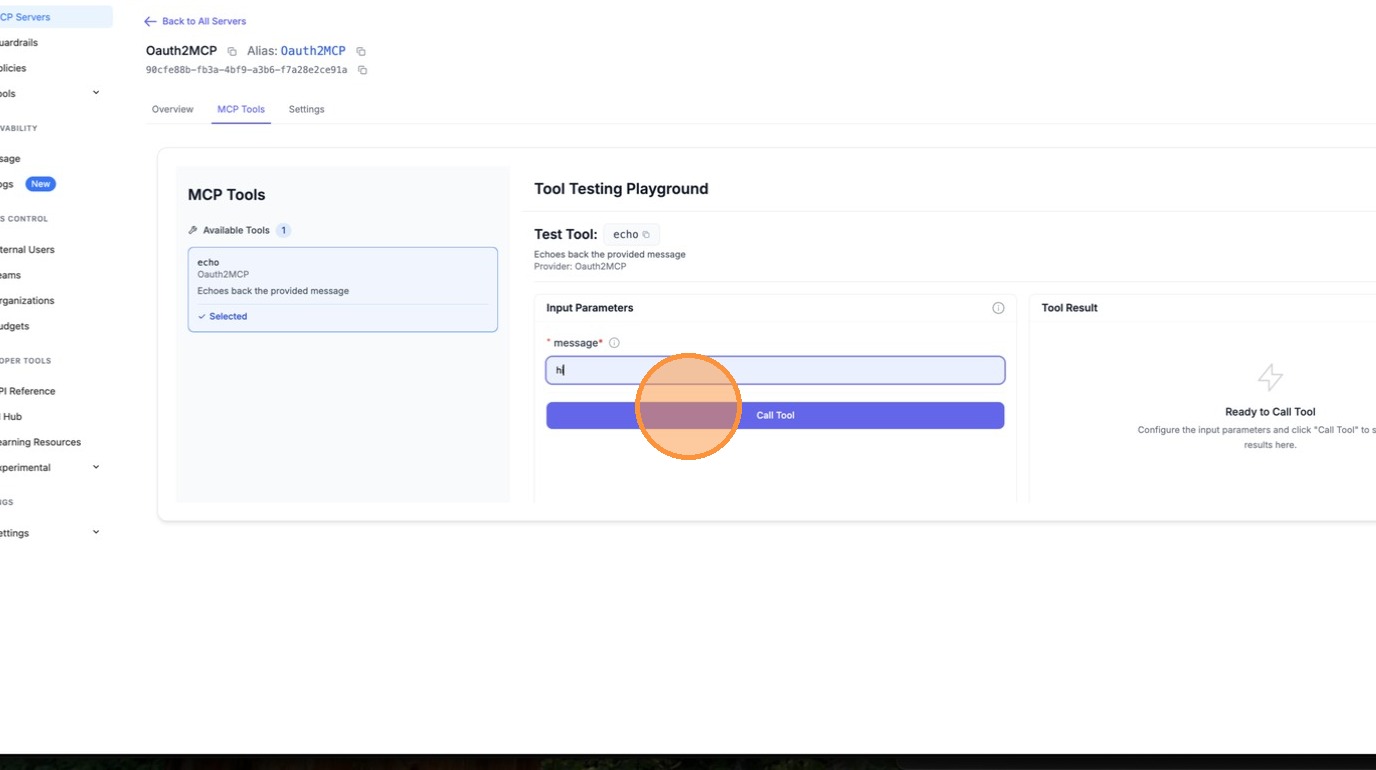
LiteLLM automatically fetches an OAuth token behind the scenes and calls the tool. The result confirms the M2M OAuth flow is working end-to-end.
Config.yaml Setup
mcp_servers:
  my_mcp_server:
    url: "https://my-mcp-server.com/mcp"
    auth_type: oauth2
    client_id: os.environ/MCP_CLIENT_ID
    client_secret: os.environ/MCP_CLIENT_SECRET
    token_url: "https://auth.example.com/oauth/token"
    scopes: ["mcp:read", "mcp:write"]  # optional
How It Works
- On first MCP request, LiteLLM POSTs to
token_urlwithgrant_type=client_credentials - The access token is cached in-memory with TTL =
expires_in - 60s - Subsequent requests reuse the cached token
- When the token expires, LiteLLM fetches a new one automatically
sequenceDiagram
    participant Client as Client
    participant LiteLLM as LiteLLM Proxy
    participant Auth as Authorization Server
    participant MCP as MCP Server

    Client->>LiteLLM: MCP request + LiteLLM API key
    LiteLLM->>Auth: POST /oauth/token (client_credentials)
    Auth->>LiteLLM: access_token (expires_in: 3600)
    LiteLLM->>MCP: MCP request + Bearer token
    MCP-->>LiteLLM: MCP response
    LiteLLM-->>Client: MCP response

    Note over LiteLLM: Token cached for subsequent requests
    Client->>LiteLLM: Next MCP request
    LiteLLM->>MCP: MCP request + cached Bearer token
    MCP-->>LiteLLM: MCP response
    LiteLLM-->>Client: MCP response
Test with Mock Server
Use BerriAI/mock-oauth2-mcp-server to test locally:
uv add fastapi uvicorn
python mock_oauth2_mcp_server.py  # starts on :8765
mcp_servers:
  test_oauth2:
    url: "http://localhost:8765/mcp"
    auth_type: oauth2
    client_id: "test-client"
    client_secret: "test-secret"
    token_url: "http://localhost:8765/oauth/token"
litellm --config config.yaml --port 4000

# List tools
curl http://localhost:4000/mcp-rest/tools/list \\
  -H "Authorization: Bearer sk-1234"

# Call a tool
curl http://localhost:4000/mcp-rest/tools/call \\
  -H "Content-Type: application/json" \\
  -H "Authorization: Bearer sk-1234" \\
  -d '{"name": "echo", "arguments": {"message": "hello"}}'
Config Reference
| Field | Required | Description |
|---|---|---|
auth_type | Yes | Must be oauth2 |
client_id | Yes | OAuth2 client ID. Supports os.environ/VAR_NAME |
client_secret | Yes | OAuth2 client secret. Supports os.environ/VAR_NAME |
token_url | Yes | Token endpoint URL |
scopes | No | List of scopes to request |
Debugging OAuth
When the LiteLLM proxy is hosted remotely and you cannot access server logs, enable debug headers to get masked authentication diagnostics in the HTTP response.
Enable Debug Mode
Add the x-litellm-mcp-debug: true header to your MCP client request.
Claude Code:
claude mcp add --transport http litellm_proxy http://proxy.example.com/atlassian_mcp/mcp \\
  --header "x-litellm-api-key: Bearer sk-..." \\
  --header "x-litellm-mcp-debug: true"
curl:
curl -X POST http://localhost:4000/atlassian_mcp/mcp \\
  -H "Content-Type: application/json" \\
  -H "x-litellm-api-key: Bearer sk-..." \\
  -H "x-litellm-mcp-debug: true" \\
  -d '{"jsonrpc":"2.0","id":1,"method":"tools/list","params":{}}'
Reading the Debug Response Headers
The response includes these headers (all sensitive values are masked):
| Header | Description |
|---|---|
x-mcp-debug-inbound-auth | Which inbound auth headers were present. |
x-mcp-debug-oauth2-token | The OAuth2 token (masked). Shows SAME_AS_LITELLM_KEY if the LiteLLM key is leaking. |
x-mcp-debug-auth-resolution | Which auth method was used: oauth2-passthrough, m2m-client-credentials, per-request-header, static-token, or no-auth. |
x-mcp-debug-outbound-url | The upstream MCP server URL. |
x-mcp-debug-server-auth-type | The auth_type configured on the server. |
Example — healthy OAuth2 passthrough:
x-mcp-debug-inbound-auth: x-litellm-api-key=Bearer****1234; authorization=Bearer****ef01
x-mcp-debug-oauth2-token: Bearer****ef01
x-mcp-debug-auth-resolution: oauth2-passthrough
x-mcp-debug-outbound-url: https://mcp.atlassian.com/v1/mcp
x-mcp-debug-server-auth-type: oauth2
Example — LiteLLM key leaking (misconfigured):
x-mcp-debug-inbound-auth: authorization=Bearer****1234
x-mcp-debug-oauth2-token: Bearer****1234 (SAME_AS_LITELLM_KEY - likely misconfigured)
x-mcp-debug-auth-resolution: oauth2-passthrough
x-mcp-debug-outbound-url: https://mcp.atlassian.com/v1/mcp
x-mcp-debug-server-auth-type: oauth2
Common Issues
LiteLLM API key leaking to the MCP server
Symptom: x-mcp-debug-oauth2-token shows SAME_AS_LITELLM_KEY.
The Authorization header carries the LiteLLM API key instead of an OAuth2 token. The OAuth2 flow never ran because the client already had an Authorization header set.
Fix: Move the LiteLLM key to x-litellm-api-key:
# WRONG — blocks OAuth2 discovery
claude mcp add --transport http my_server http://proxy/mcp/server \\
    --header "Authorization: Bearer sk-..."

# CORRECT — LiteLLM key in dedicated header, Authorization free for OAuth2
claude mcp add --transport http my_server http://proxy/mcp/server \\
    --header "x-litellm-api-key: Bearer sk-..."
No OAuth2 token present
Symptom: x-mcp-debug-oauth2-token shows (none) and x-mcp-debug-auth-resolution shows no-auth.
Check that:
- The
Authorizationheader is NOT s